
How Driveway Damage Is Found, Fixed, and Prevented
Understanding the concrete driveway repair process helps you know what to expect from start to finish. In simple terms, the process includes checking the damage, cleaning the area, fixing cracks or weak spots, and sealing the surface to protect it. Whether the issue is small cracks or larger sinking sections, each step builds on the last to restore strength and improve how your driveway looks.

What You Need Before Starting
Before any concrete driveway repair begins, it is important to look closely at the driveway. Not all damage is the same. A thin surface crack needs a different fix than a deep crack or a sunken slab.
Here is what is usually needed before work starts:
- A full visual inspection of cracks, stains, and uneven areas
- Basic tools like a pressure washer or stiff broom
- Crack filler, patching mix, or resurfacing product
- Safety gear such as gloves and eye protection
Cleaning the driveway is a key early step. Dirt, oil, and loose concrete can stop repair material from bonding the right way.
Step-by-Step Repair Process
Most concrete driveway repair jobs follow a clear set of steps. Skipping steps can lead to weak spots later.
- Inspect the damage. Measure cracks and check for loose or crumbling areas.
- Clean the surface. Remove dirt, plants, and debris from cracks and joints.
- Prepare the crack or hole. Widen small cracks slightly so filler can stick better.
- Apply repair material. Use concrete crack filler or patch mix based on the damage size.
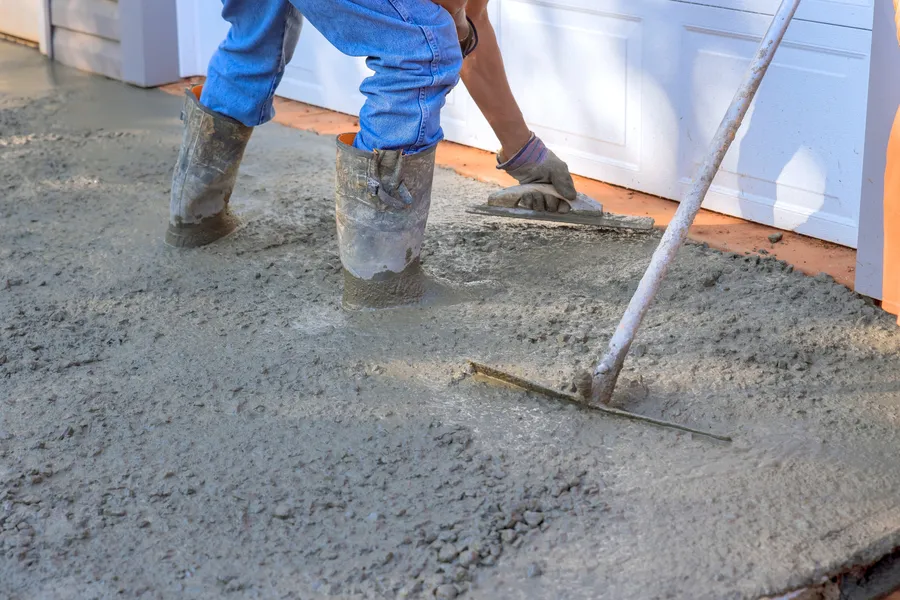
- Smooth and level. Use a trowel to blend the patch with the surrounding surface.
- Allow proper drying time. Keep traffic off the area until it fully cures.
- Seal the driveway. Add a protective sealer to help prevent future damage.
For large sunken sections, slab lifting methods or partial replacement may be needed. These jobs often require special tools and training.
Common Mistakes to Avoid
Small mistakes can lead to bigger problems later. Many driveway repairs fail because steps were rushed or skipped.
Avoid these common issues:
- Filling dirty or wet cracks
- Using the wrong repair product for deep damage
- Ignoring drainage problems nearby
- Driving on the surface before it cures
Another mistake is fixing only the visible crack without checking the base underneath. If the soil below has shifted, surface repairs alone may not last long.
When to Call a Professional
Some concrete driveway repair projects are simple. Hairline cracks and small chips are often safe for homeowners to fix. But certain signs point to a larger issue.
You may need professional help if you notice:
- Large cracks wider than a quarter inch
- Sections of driveway sinking or tilting
- Water pooling after rain
- Multiple cracks forming in the same area
These problems often mean the base layer under the concrete has shifted or eroded. Fixing the surface without correcting the base can lead to repeat damage. A trained team can test the stability of the slab and suggest the right repair method.
Final Thoughts and Next Steps
Taking care of driveway damage early saves money and extends the life of your concrete. Small cracks are easier to fix than large structural breaks. Regular cleaning and sealing also help prevent water from seeping in and causing new problems. If your driveway in Santa Rosa, CA has cracks, uneven spots, or surface wear, we can help you understand the best repair options. At LA Diaz Concrete, our team handles concrete driveway repair projects of all sizes. Call us at (707) 202-6085 to schedule an inspection and let us help restore the safety and appearance of your driveway.